Do you have students, that no matter how much you reward him/her or reward everyone else but him/her, they struggle with staying in one spot? Though I didn't implement true flexible seating last year in my classroom (for reasons beyond my control) I did allow my students to option of working around the room whenever possible, and if they had to be at their desk, they could choose to stand or sit. But they had to stay in their area and stay focused the whole time they work (well, as focused as eight year olds can stay...).
One boy in particular really struggled with this. He was allllwaayyyyss wandering around the classroom, especially when I was working with other students in small groups. It drove me bonkers. No matter what I tried, it didn't improve. So, I dealt with it as best I could.
Later in the year, his mom had him meet with a variety of doctors for a variety of different and heart-breaking reasons. After meeting with her, my admin, and our intervention specialist, it was found that he needed boundaries set within the classroom in order to achieve the behavior goals we were implementing for him.
I dubbed this new boundary system "Zone Time." I set it up for the whole class, not just him. and I apologize that I slacked in taking pictures.. so I'll do my best to paint a picture of what I implemented for you so it is as clearly as I can.
We needed him to work on Zone Time in two ways... first to work on staying in his area when he was working. Due to other poor behavior choices he was making, this was always at his desk for the remainder of the year. He was no longer allowed to work around the classroom. So, since my students' desks were arranged in pods, he needed to stay within his small group area. I outlined this in two ways:
1. washi tape that I put on the floor around the group - it looked like a giant rectangle. I DON'T recommend duct tape...it's quite difficult to remove. Washi tape removes easily, and comes in a variety of different colors.
2. numbers I hung above their pods. I had 4 pods of students, so I cut out a giant 1, 2, 3, and 4 of cardstock, and hung them above the pods.
note* I used numbers, but you could also use colors, animals, let the pods choose their names, etc... whatever works for you. I liked numbers. That way, I could change where my students were sitting and always have the same four zones. Washi tape comes in a bunch of colors so you can really go crazy with colors! I also would have wanted them to match my classroom decor, and I couldn't find what I needed to make it work. So numbers it was.
The second thing we were working on was staying within his specific working area within the zone. Again, he wasn't allowed around the classroom, so this was his desk area. I didn't always require him to stay within just his desk area. We were working on the broader goal of the group zone first, before honing in on his desk area. But, this was the end of the third grade and he was nine years old. He could fully understand what was expected of him, even if he couldn't always control it, so I pulled him aside to talk about what Zone Time meant for him specifically and when.
My goal for him was to work on staying within his specific working zone (the second, more specific goal - his desk) only when I was working with small groups. If students were told it was "Zone Time" and I was walking around observing/helping students, he could move within the zone, but if I was with small groups he was to stay at his desk. We then had a behavior chart that the intervention specialist created for use at school and home to monitor his success with this goal and he was rewarded appropriately.
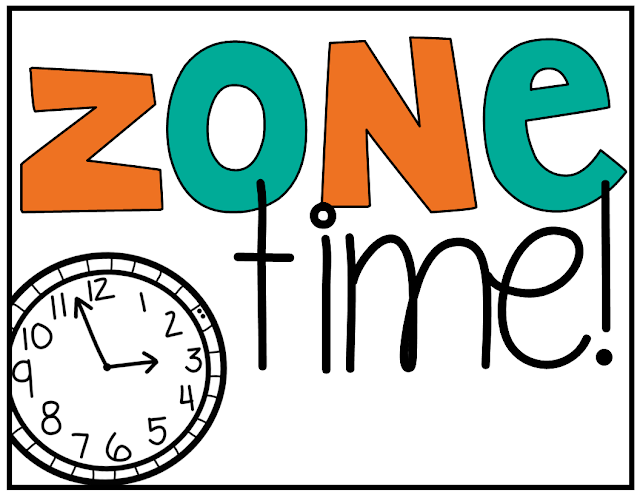
So, in the picture you see at the beginning of the post, I created a sign that I hing at the front of the room on my white board. When the sign was hung (and I always announced it as well) it was "Zone Time," and students had to stay in their zone.
It worked wonders. Students still had some freedom to move around, but the visual of the zone created with the washi tape helped cut down on shenanigans from the entire class! I had a class of 18, twelve of which were boys, and half of those boys excelled in shenanigans. This was a great success.. I only wish I had thought of it at the beginning of the school year rather than the end of the year.
If you feel like you might benefit from Zone Time in your class, CLICK HERE to download the sign for free (or click the picture at the beginning of the post)! Take it, and run with it.. make it work in your classroom however you need! and again, I apologize for not having pictures. I was quite pregnant at the end of the school year, we were remodeling our house, and I was preparing to pack up my entire classroom to stay home this year... and pictures just never happened..... but it is quite a simple concept, and how you make it work could vary quite differently in your classroom for your students.. and that's okay!
Let me know how you used this concept, or if you have any questions in the comments below!


