Showing posts with label school supplies. Show all posts

Friday, September 11, 2015

Sticky Note Lesson Plans & Erin Condren

Lesson planning with post-it notes in the Erin Condren Teacher Planner

Hey friends!

I am so excited about this post because that picture above just makes my {teacher} heart SO HAPPY! I absolutely love lesson planning and looking at my lesson planner because, well.. just LOOK AT THAT! Those colors, those fonts, and that organization. It's too much! GAHH!

SOOOO... anyhow.. enough of my gushing... I guess I should start telling you WHY it's there!

If you've been on my Facebook page, Instagram, or Pinterest at all, it might look a tad familiar.

There's a post & YouTube video floating around that I've already done telling all about how I create my Erin Condren Teacher Planner with sticky notes.

However, I have been able to take this gorgeous masterpiece of a plan book... and improve upon it EVEN MORE! say whaaat!? I know! I didn't think this was at all possible either.. but it is!

So... if you first need to read the original post about how I did that... do that RIGHT HERE. RIGHT NOW.

Then come on back and read what's NEW AND IMPROVED!


So...let's play a game and see if you can SPOT THE DIFFERENCE:
Lesson planning with post-it notes in the Erin Condren Teacher Planner

Did you find it?

Here's what's new.... MY SUBJECT LABELS! noooww take a look!:
Lesson planning with post-it notes in the Erin Condren Teacher Planner

It may seem silly... but can I just say how WONDERFUL it is to not have to hand write almost anything in my planner these days!?!

Thanks to the genius of my friend Lisa over at Fourth and Ten and her beautiful Instagram post, I no longer have to write in my subject headers and times! Using Avery Return Address Labels [and all of the patience I can muster!] I created these subject and time labels for my planner! Now, I spend even LESS TIME setting up my planner week to week. I simply put in the labels, washi tape for our snack & lunch breaks, and I'm good to go.

Here's what a bunch of them printed out looks like:


I think I am even going to try doing my dates on them too so literally nothing is written in anymore. Another plus? If I mess up or decide to change something I can just cover it up with another and be none the wiser!

So, I know you might be asking "how do you make the labels in color?" Well, this is where that patience I mentioned [and don't have much of!] comes in. When you download and open the template [which you can get here for free from Avery] in Microsoft Word. I select the box in the template and go to "Format" >> "Shape Fill." Then, select the color you want the background to be. Of course, you can leave it white. But I went ahead and gave mine a rainbow pattern. Then, I overlay a text box [which I make translucent] and format my text. I copy and paste the text boxes to fill one column with the same label format. So, the first column is my red "Morning Work" label, the second is the orange "Bible" label, the third alternates "Science," "Health," & "History" in yellow since that's how I will be teaching it this year [rotating through each content over the course of the whole year] and then the last column on the page is the green "Math" label. Then, once I save the file, I close it and copy the entire file itself and paste it onto my desktop. I rename it (something I'll remember that corresponds) and change the text boxes to the times for each of those same subjects. That way the colors are already done and I just have to change the text and formatting.

I say it takes patience because Microsoft Word is finicky when it comes to layering and I spent a lot of time adjusting the text boxes so they would line up well. But, now that it's done it looks great and was well worth the frustration!

>>> If you click here, you can download one of my label files and give them a try to see what I mean. You'll need the font CartonSix so it looks right and go from there so some of the formatting is done for you! Remember..it's in WORD. I'm sorry!

PRINTING TIP >>> once you create those labels, you will need to save them as a PDF in order to print. The first time I went to print I didn't do that.. and they didn't bring with the color fill. So I have some pages of just plain white labels. Anybody want them!?

I bought the Avery Return Address Labels on Amazon... you can get a box of 2000 here and have them for at least 2 years, if not more.. it just depends how many you use a week. Right now, I use 19 a week, but if I print the dates like I think I will that will be 24 a week x at least 34 weeks of planning for 816 labels a year. 2000 divided by 816 is 2.45 years... not bad for about $7!

For your enjoyment, here's another look at the goodness of all the supplies I use when I am putting it all together...

Lesson planning with post-it notes in the Erin Condren Teacher Planner
You can see in the top right that I used labels to insert when I do our daily Read Aloud under other plans because I didn't have room elsewhere. It works great! I love that the post-it allows for TWICE the planning room. You can lift them up and jot notes, ideas, and changes underneath for future reference [and hide them with the post-it!]


Happy Planning!


Wednesday, March 26, 2014

I {mustache} You a Question.....

.......do you love giveaways!??!

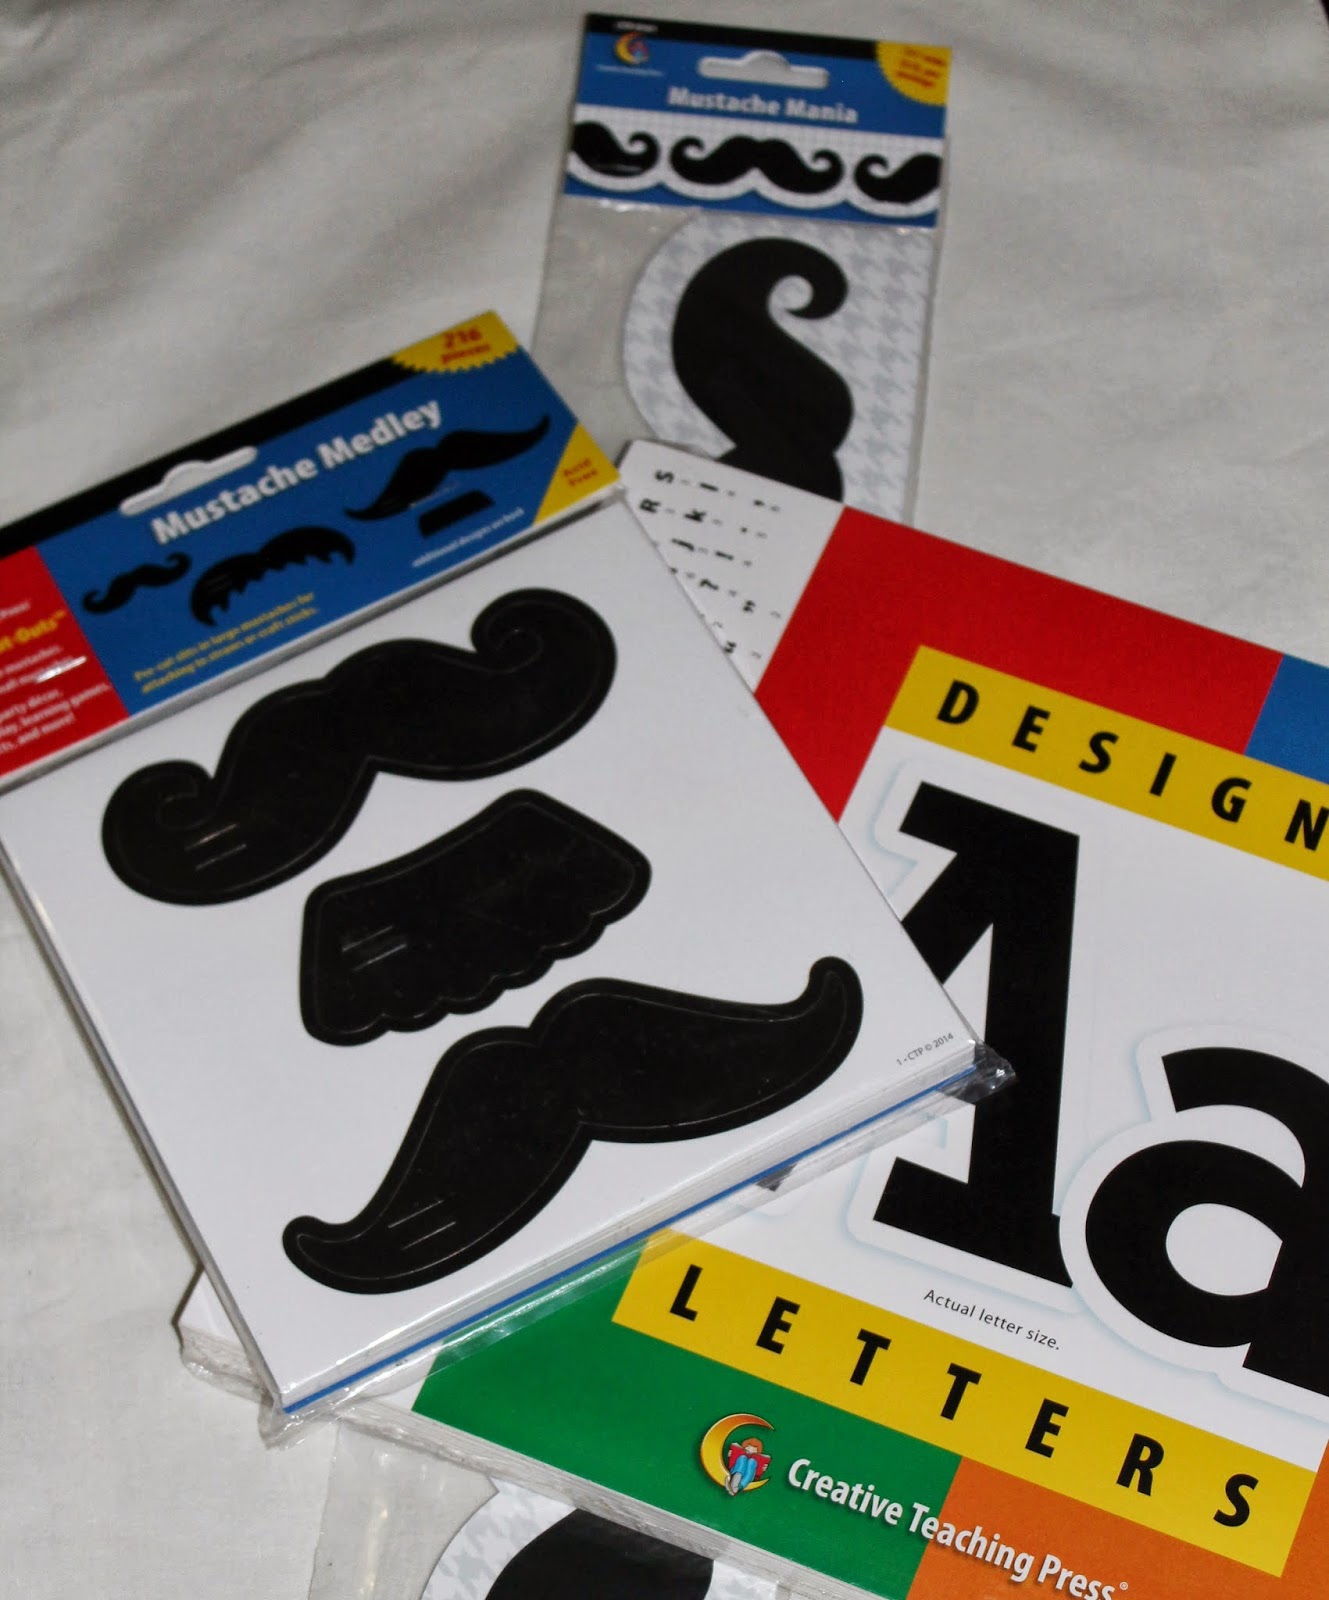
If so, you've found the right place!!! Thanks to Creative Teaching Press I am giving away some fan-STACHE-tic classroom goodies!

I recently made a new door for my classroom with the latest craze... MUSTACHES!


It's by far one of my most favorite doors/bulletin boards!

You can recreate it or make your own fan-stache-tic display by entering my giveaway below!
You can earn extra daily entries on my Instagram account too! :)
Here's what you'll win!


a Rafflecopter giveaway


Thursday, January 30, 2014

My 7 Grading Paper Must-Haves!


Preparing report cards this week got me thinking a lot about my must-have items for when I grade papers. I have some things I really need to have on hand in order for grading to go smoothly and to work efficiently (for me, anyway) ....so I thought I'd share them! I mean, grading stacks of papers at night isn't always fun, right!? We gotta do what we gotta do to make it {a tad bit} more enjoyable!

1. Grading Sheets

My first and ULTIMATE grading necessity is this handy little piece of paper. I swear, if I don't have one or two of these on me at all times, I feel completely lost and unorganized!
It is a table I create within Microsoft Word that lists my students names, with as many blank columns as I can fit. I also have the four blank rows at the top for the subject, assignment description, total points, and date of assignment. Then, I list the grades as I go. When I go to the computer later to enter them, it is SO much easier! Everything is already in order as I keep in my Excel spreadsheet.. I just go straight down the line entering the numbers!

I can fit about 8 columns per table and 2 tables per page. About 30 copies of them at the beginning of the year is usually enough to last me all year. I use them for more than just grading too. They work for keeping track of just about anything and I seriously don't think I could function without them!

Wanna give them a try?!  >>>CLICK HERE! to download them for free. Beware, it is a WORD document.. I know, I'm sorry! ... just type your students' names into the boxes on the left. There is room for up to 20 students. If you don't need that many, just delete rows from the bottom. You'll need the fonts KG Eyes Wide Open & CartonSix so it looks right. But, of course, you can change them to whatever you want! :)

{disclaimer: old photo!}


2. EZ Grader

I think every teacher would agree than an EZ Grader is a MUST HAVE! My newest one was given to me by a friend who was retiring {it was brand new!} and is a Breast Cancer Awareness one. I love it, because my mom is a survivor, and so was her mom. It's a cause near & dear to my heart. Whenever I see it, I thank God she is healed!

Do I really need to add any further explanation of why it's a must-have for grading, though?!?! [if you feel I do, please leave and a comment and I'd be happy to!! :)] I will say this - whoever invented it is a genius!

3. a good set of pens

I absolutely LOVE this felt pens! They have a super fine point and come in a large rainbow of beautiful colors! My cousin was a graphic design major at U of Cincy and had some a few summers ago. I was drooling over them for this exact purpose and she told me she found them on Amazon. So, of course, I ordered them! I have since found a smaller ten pack at Staples. I have several packs now ... they don't last me too long ;)

of course, these Papermate Flair pens will always suffice if you don't have the Staedtler Fineliners.
I love them too... I especially love how they look on my desk in this Target alphabet toothbrush holder :)

4. STICKERS!

For a not-so-fun activity... you definitely need to fancy up them papers with fun stickers! Students love them, teachers love them.... well, who DOESN'T love them!?! :) Creative Teaching Press makes lots of fun ones!


5. a Repertoire of Encouraging Comments

I have gotten really positive feedback from parents over the last couple of years about the comments I leave on students' papers. I know it's not possible to do all the time, but I find on certain papers, especially tests, meaningful writing, or pages where they really excel, it is not overlooked. My students inspect every page they get in their mailbox every day. I think they like to see what I have to say about their work, so I make sure that what I say counts... because it does to them!

This is my favorite comment to write :) I have a parent write it occasionally when she looks over her daughter's Spelling Notebook before she hands in her homework - so sweet!


I love responding to their sentences! What they come up with sometimes is just tooo much!


6. Grading Folder & paper clips

I HAVE to be organized. It's a MUST. So, to keep everything in order, I paper clip each set of papers together with little paper clips. I also keep a folder in my Erin Condren Teacher Planner that is ONLY for papers I need to grade or check over. I keep them in there whenever I take them out of the turn-in station and take them home in the folder with some grading sheets & stickers {though usually my entire plan book goes home with me nightly!} Once a group of papers is graded, it goes back in the folder. If anything is turned in incomplete, those papers stay on the top of the pile in the folder. The next morning, when I go back in, I take the incomplete papers off of the top and set them aside for students to complete, and the rest go on top of the turn-in station to go home as mail!

I got a set of personalized file folders from Erin Condren and made one a "Papers to Grade" folder. SO cute :)


Every morning I check my students' Take Home Binders for their homework and check off if it was completed or not so they can stay in the Homework Club. I made this checklist real quick to keep track. You can get that for free >>>HERE! too :)  {it is editable in Power Point.. just type into the text boxes and choose a font! I use KG Eyes Wide Open here, too}

7. Turn-in Station

I'll say it again, I HAVE to be organized. In order for me to be organized, my students have to be as well. When they begin to work on an assignment independently, especially something like a quiz or a test or will for sure be assigned a "grade" or set of points, I have them turn it in. When I worked with a teacher friend of mine, she used a system like this and it was genius. So, I took it and began using it too!


I have a station on top of my student mailbox organizers [it's really a ClosetMaid Shoe Organizer!] I have a stack of 4 metal letter trays on top. The three on the bottom each have a paper folder: one red, one yellow, and one green. Those are the colors my friend used, but you could whatever you want! Whenever I give the directions, right before I let my students begin working I tell them where they will turn it in. I used to write on the board a big R or Y {R for red & Y for yellow} so they knew where to put it, but it wasn't enough, someone always asked where to put it when they finished! Especially if there were other thing written on the board already, it seemed to get a little lost. So, instead I made these visual prompt cards that are on the board. I just check next to which folder it goes in. Sometimes I even add a page number or abbreviation/description such as "Lang. 27" or "Math Test" if they have multiple things to turn in. Then, when they finish they just walk over to the station and slip into the correct colored folder. They don't have to take the folder and put it in the pocket or anything, just slide it in to the folder, like a file folder. So, of course, colored or even plain file folders would work too!

The top letter tray is empty and that is where I put papers I have finished grading or other items that need to go home. When there are papers there, my classroom mail people work on putting them into the mailboxes in their free time. So, like I was describing above, when I come in the next morning, any papers that are completely graded go right there and I'm done!

As you can see in the picture, the station also has a basket of highlighters and a sign. I added the sign last year to help combat the No-Name Paper Epidemic. A teacher across the hall printed it from TpT and decided not to use it, so I did! I laminated it and have it taped over the turn-in folders, so they HAVE to lift it in order to turn in their work. This way, they are guaranteed to see that sign and be prompted to check if their name is on their paper or not. I rarely have no-name papers now :) it's a lovely thing! I scoured TpT for the creator of the one I have {to give credit where credit is due!} but failed in finding it. But, there are a bunch for free to download on TpT.. just search "highlight your name." I'm sure you'll find one you like!

If you like the visual prompt cards, you can pick them up here in my TpT store!


Well, those are my go to items for grading papers! Do you have any more, or others? I especially love seeing good pens/office supplies that other teachers have discovered! I'm pretty sure school supplies my Love Language! ;)