Showing posts with label CTP. Show all posts

Saturday, January 10, 2015

Happy 2015!

Hey friends!

I hope you all had a very MERRY CHRISTMAS with your family and friends and enjoyed your time off of school! I know I greatly enjoyed mine, but was also so happy to see my kiddos on Monday! It didn't last long though... we had THREE snow days Wednesday, Thursday, and Friday... so much didn't get accomplished! On top of that I will be attending our local ACSI Spelling Bee as a judge on Friday and then MLK Day is Monday! So I now have 2 four days back-to-back after a two day week following Christmas break! this. is. NUTS!

I wanted to take a second to show you the results of my winter bulletin board. I showed you in my last post what it looked like without our writing craftivity after I changed the titled and borders, but never posted the after picture!

Here's the "before" for a reminder...


and here is the "after" with our snow globe fiction writing and snow globe craft!


The snow globes were SO much fun and a *tad* easier than I expected!

Here's how we made them!

First, I had to find those clear, plastic plates! Not as easy as one may expect! I finally checked a party supply store and found a 40 pack for $9. There were some cheaper ones but they weren't as clear or "globe"-like. I figured I could make a 40 pack last for at least 3 classes, so I was okay with that price.
I traced one onto cardstock to make a pattern and then kept drawing & erasing until I had something that resembled a snow globe and used that for a pattern. I then traced it onto several different colors of blue cardstock I had and cut them out. I wanted to do that for my students so the edges were nice and clean, but you could have them trace and cut a pattern on their own.

The students then made a background.with their markers and made a pattern on the bottom of the globe with pencil. We then mixed up some white glue and shaving cream to make "snow" and they added it where they wanted on to their globes. We let them dry over night and they loved seeing how puffy the "snow" stayed the next day!

I had them dress up in their winter gear (as much or as little as they wanted) and took their picture in the hall. I showed them the example I was using on Pinterest and let them '"pose" however they wanted. I cut out the pictures after I printed them, and *luckily* they were the exact right size!

We used glue and glitter to decorate the patterns on the bottom (I LOVE glitter!) and when all was ready and dry, I used a hot glue gun to affix the plates to the paper. 

It was several steps but still basically pretty easy, and SO much fun! They loved using their imagination and seeing everyone's completed snow globes! 


I hope you have a BLESSED beginning to your 2015!


Wednesday, December 3, 2014

SnOw Excited!


Hey there friends!
I am SNOW excited for SNOW many reasons!

First of all, we had our FIRST SNOW DAY already this year! It actually happened a couple of weeks ago in the middle of November...WHAAAT!?? I know, right?! It was crazy. I hope it's not a foreshadowing of our NE Ohio winter ahead! I told my Grandpa about it, who lives in Florida now but grew up here. He said, if it stays at this rate, I could be teaching well into July! oi! I sure hope not!

I am also excited because I got the NEW Skippyjon Jones book titled Snow What!

It is just SO CUTE! I got it about a week ago and had to share it imediately the next day morning with my kiddos because I just couldn't wait to show it to them and put it out in the library! They just LOVE Skippy [as we affectionately call him :)] and look forward to every Friday afternoon when they get to find out who goes home with him for the weekend! It bought the Literacy Bag they sell on the official Skippyjon Jones website, plus a Skippyjon Jones stuffed animal from Kohl's Cares (who can beat $5!?)

I'm also excited to show you my new door decor and bulletin board for winter! I just LOVE them both!

Here's my door:
 

I used teal chevron wrapping paper I bought at Target as the background. I just love using wrapping paper! Do you?? I also used Poppy Red Chevron Border from Creative Teaching Press and broke up the pattern with a plain black border to make the edges really pop. I then used those amazing KG fonts from Kimberly Geswein to make the lettering. I printed the J in white with a black outline in Blank Space Solid and make the Jesus in KG Blank Space Sketch in red. I printed them onto cardstock, cut the out and laminated them. I covered the J in silver glitter to make it stand out. (I love glitter!) The is for is the font KG Always a Good Time. I also made the Legend of the Candy Cane poster with a poem I found online. I used some candy cane clip art from Krista over at Creative Clips to add some extra flair to match the poster I made. My colleague in 4th grade saw the garland at Dollar Tree so I added that on there. Finally, after reading the book The Legend of the Candy Cane to my students, we made our own candy canes and 'Js for Jesus.' They were super simple and yes, I broke out the glitter for them! I know a lot of teachers don't like glitter.. but I just love it! :)

Finally, here is our new bulletin board for winter. It isn't quite done because we have to still do the craftivity and writing, but it's at least up and looks good for now!

I really love this board because I was able to utilize the wrapping paper and red polka dots border I put up at the beginning of the school year. I only had to take down our original board and change the top layer of border to transform it for winter. I have a HUGE bulletin board that takes at least a roll and half of wrapping paper. Plus, I love that blue and white stripe pattern and Target is all out of it, so I wanted to make it last all year! I try to do that often over the course of the school year. I'll be blogging about that soon to share with and show you how I keep that background and borders up year round!
So here's how I made it... again, I used chevron border from Creative Teaching Press, this time in gray. (It had previously been yellow for our Superhero Kids theme). I then just added some foam snowflake cutouts I had randomly around the edges. I printed some snow globe clip art from Krista again at Creative Clips and used KG fonts for my title. The 'If I lived in a" if KG Blank Spaces Sketch again, and "snow globe" is KG Wake Me Up. Again, I printed on card stock and laminated them so I can reuse them! Next week we will work on this craftivity and writing piece since we had some other things to work on this week. I can't wait to show you what they write and come up with! I am still thinking through exactly what I want the craft to look like. Here's some examples I found on Pinterest...

Aren't they adorable?! I'm not sure which one, or combination of them I will come up with. But I'm excited :) I do know I will take their pictures to put in them. They are just too cute :) I pinned a bunch of ideas on my Pinterest board Teaching [crafts] if you want to check out all my pins and pin with me!


Well, that's all of my SNOW excitedness for the moment. What are you SNOW excited about??
Happy December, friends!


Tuesday, October 7, 2014

Happy Fall, y'all!

Hey friends!

Just dropping by real quick to show you my new classroom door decor! It's actually quite simple and will last well into fall :)


I used brown chevron border from Creative Teaching Press with a plain orange border in the middle to break up the pattern, The background is wrapping paper from Target. I enlarged Creative Clips digital clip art for the trees and pumpkins and printed out the letters using the KG Second Chances Sketch font. My students created the leaves. I printed a black-line leaf onto white cardstock. They used tissue paper squares I got at Lakeshore and wrapped them around the end of an unsharpened pencil, dipped them in glue, and stuck them on until the filled it up. It was a sweet, simple craft for a sweet, simple fall door!

Have a blessed fall, friends! :)

Wednesday, March 26, 2014

I {mustache} You a Question.....

.......do you love giveaways!??!

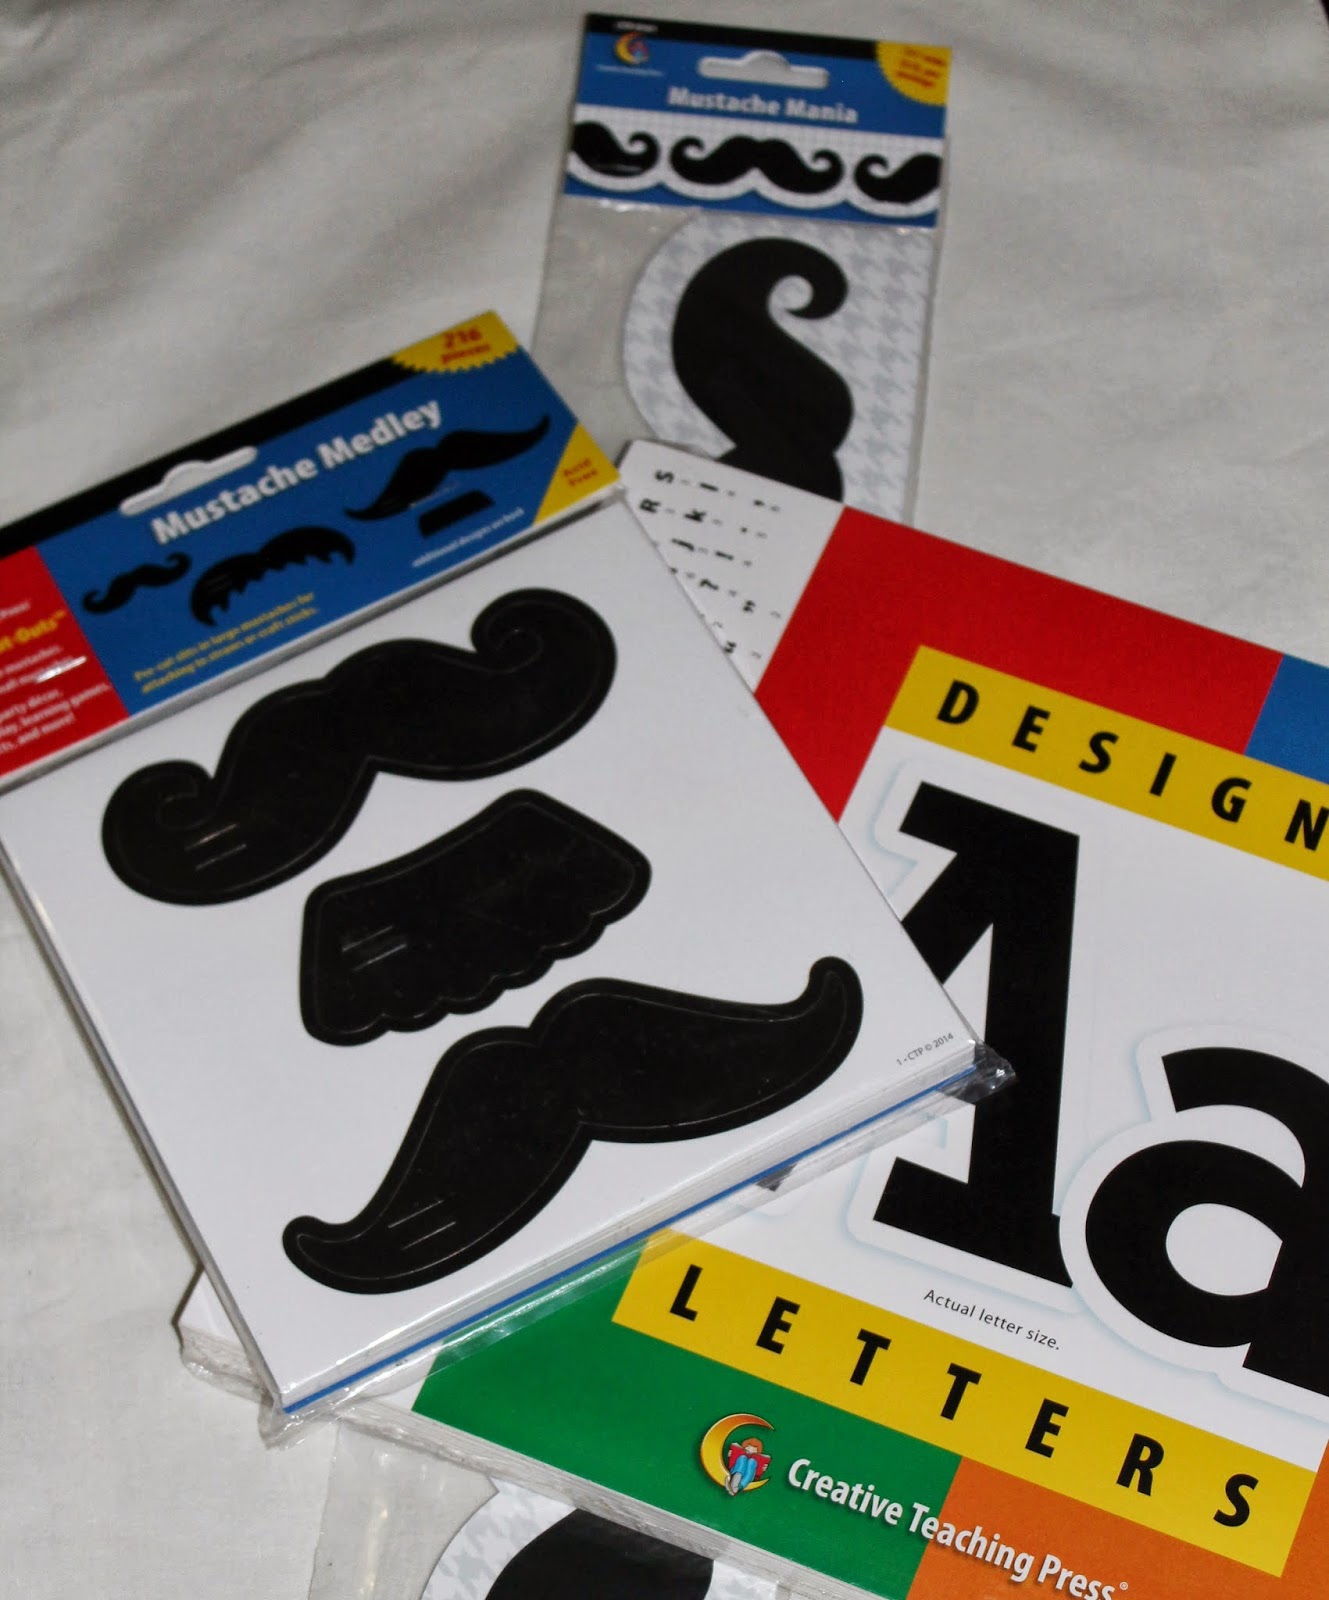
If so, you've found the right place!!! Thanks to Creative Teaching Press I am giving away some fan-STACHE-tic classroom goodies!

I recently made a new door for my classroom with the latest craze... MUSTACHES!


It's by far one of my most favorite doors/bulletin boards!

You can recreate it or make your own fan-stache-tic display by entering my giveaway below!
You can earn extra daily entries on my Instagram account too! :)
Here's what you'll win!


a Rafflecopter giveaway


Monday, March 24, 2014

just....WOW!

OMG... the NE Ohio Teacher/Blogger Meet Up was AMAZING!!!! I don't even think amazing is the right word for it... there is no perfect word to describe the day! Every. Single. Girl. was so sweet! I will be reeling from the day for weeks, I am sure. [my poor hubby! lol]

The day started with a quick Target run with my sister for some last minute items and a new pair of shoes [of course!] My black flats were leaking the last time it rained/snowed, so I needed some new ones A-SAP. Only $20... couldn't pass them up :)  We then made our way to Legacy Village, where we patiently waited at The Cheesecake Factory. Girl after girl came through the door and the circle of us in the lobby continued to grow - it was so cool! My excitement only grew as the day went on [which didn't seem possible] and I don't think I stopped smiling or talking once! It was if we all knew each other for years, and we became fast ::real life:: friends ---- I am SO grateful!

We had 18 amazing girls come! I never would have dreamed when I thought to organize this that there would be THIS great of a response... I am so overwhelmed with thankfulness, happiness, and just overall awe at the day.

Here's who joined us... go check them out!

Jessica @ The Teacher Talk
{plus several other amazing teachers who love meeting other teachers!}
It was SO FANTASTIC! I still can't believe it really happened, and that it's over already! We definitely have to do it again soon! For those of you reading who live in other parts of the country and have never been to one....
HOST ONE! It's totally worth it! :)


We talked teaching, fashion, food, family, you name it! It was so wonderful, to say the least. The big talk was the TpT Summer Seller Conference in July! We are so blessed that Amanda of One Extra Degree is an NEO girl and will be presenting a session on copyrights at the conference! So cool! Several other girls are already registered and have plane tickets purchased.... I'm hoping to convince the hubby we need a summer vacay to Vegas too! ;)
Of course, I love party planning [I swear if I hadn't become a teacher I would have been a party planner!] so I made sure everyone went home with goodies, and we played a game for some great prizes! Eight girls got to take something home, including some fun classroom goodies courtesy
from Creative Teaching Press!
Have you ever been to a blogger meet up! Comment below and tell me all about it!
I'd love to hear about others :)


Wednesday, January 29, 2014

Exciting News, Riveting Robots & MORE Chevron!

Hey there!

I am excited to announce that I will be pairing up with Creative Teaching Press to receive and review their products here on my blog! What's more exciting is.... I will be able to do GIVEAWAYS so you can have a chance at trying out their products too! YAY!

So, to kick it off, I am going to show you how I have been using some of their newer [and cuter] lines in my classroom this year!

The first is their Riveting Robots! Each year I have had a theme in my classroom. The first year I used stars everywhere and had a star calendar and star job chart. Last year I used owls. I love owls and have an overall general chevron theme going, but I wanted a new calendar, job chart, and additional theme since I have had the same students the past couple of years. I was shopping at Lakeshore one day [teacher heaven!] and saw these cute gears and robots borders. I did some digging on the CTP website and was hooked! I decided that the owls had been more of a girly theme [as most are, being that they are décor items] so I figured the boys would appreciate this theme a bit more :)

Here's a look at how I used them:

I decided to make my hallway bulletin more permanent this year to display student work, and change the covering on my door periodically instead [see below for my doors so far this year!] On the right is the permanent work display with their Dots on Turquoise Border, and on the left I used the Nuts & Bolts poster from the Riveting Robots Bulletin Board Set.  I love mixing patterns, so the Target wrapping papers and polka dot borders were fun to mix and match!

 
Here's how I use the poster more specifically: since it says "The Nuts & Bolts of" and leaves it open-ended for a variety of uses, I decided to use it to display our "objectives" or broad learning concepts in each subject. Bible is changed weekly to include our unit focus and memory verse, but the others change less frequently. I laminated it and use a dry erase marker so I can change, add, and or remove things as often as I need. I like displaying it in the hallways for parents and visitors to see what we're working on! I also used the gear to show what we will be working on in the near future!


To make attendance a bit more visual [and to cover my not so attractive desk!] I used the Riveting Robots Designer Cut-outs with some chevron contact paper I found on Amazon. I wrote my students' names and laminated them for durability all year, and added magnets to the back. My little "robots" report each day to show if they are absent or present. It's just a fun, silly way I brought in the robots some more :)


I [of course] had to buy a new calendar set & job chart to match my other new robot themed items! Since I have a lack of wall space and A LOT of windows, I decided to make my window my calendar space. Since we are in 3rd grade now, I don't feel the need to have a calendar time/morning meeting everyday. Instead, the calendar is one of my classroom jobs. We use window markers from Pat Catan's in bright colors to write the regular date and digital date below the calendar itself :)  The days of the week and weather report are below the window on the wall.


Of course the job chart needed a fun title to it [in 1st grade they were "Star Helpers" and last year they were "Owl-fully Helpful!"] This year, they are my "Handy Helpers!" :)
 
Lastly, I used the corresponding gears border [my favorite of the whole line!] and robot cut-outs to make my door covering to kick off the new year.... we were "Gearing Up for Third Grade!"
 
 
My only regret was not ordering the matching letters they have for this line. When I was shopping at Lakeshore they had some items for the line, but not all of them. So I had to go online to buy the other pieces I needed/wanted. I had already bought the above set of letters, so I made them work. But I am thinking I am going to have to get the matching nuts and bolts style lettering for future use.
 
What do you think of the Riveting Robots line?!? Leave some comments below and let me know! I personally love, as did the boys in my class!! What is great about it, too, is there are many colors and patterns mixed into everything so it can easily go along with many of the items you already have. If you have primary colors, polka dots, grays and blacks, chevron - it matches them all! and the robots are lots of fun!:)
 
Speaking of chevron..... CTP has some FANTASTIC new borders out that are ChEvRoN!! I just had to have them when I saw them online. Many of the colors were back-ordered in August, so I had to wait on a couple of them, but I did get a few others. I am eyeing some more of them too! As I said above [and you can see in my pictures] I have a lot of chevron going on. So I had to have the borders.. I am also using their chevron nameplates on my students' desks. I took a tip from Pinterest and use Velcro to attach them to the desks - no more tape mess! I also took ANOTHER idea from Pinterest and laminated them now. Now my students practice writing their first and last name in neat cursive everyday with a dry erase marker. We just started this after returning from Christmas break and it is working well.  Here's a look at them and a link to see them all:
 

These are the Chevron Name Plates we are currently using:
 
Since our desks open upward, we keep the markers hooked on upside down and they won't fall off whenever we open our desks :) 
 
At the beginning of the year I was using these name plates I picked up at Lakeshore:

I ran out of the turquoise and orange which I had used to start the year, so I bought the newer chevron ones since they were all I could find. Now, on CTP's website I discovered they have other chevron name plates in solid colors that I'm liking better for next year!
 
 
This is their Turquoise Chevron Border around my dry erase board.. it looks more aqua blue on the website, but it is a true turquoise in person!


 Valentine's door using Chocolate Chevron Border:
 
 
Christmas door - wishing I had the Poppy Red Chevron Border instead! hopefully next year :) 


What I like most about the borders [beside the fact that they are chevron ;)] is the width. They are 3" wide, compared to border that is curvy. It gives a clean, bright edge.... especially on those pesky bulletin boards! Do you have any of their chevron borders? What colors do you have, and what do you think of them!? I currently have what you see above, along with the Slate Grey. My wish list includes the Poppy Red and Lime Green too!
 
 
Well, I think that's all for today.... whew, I'm tired! :)
 
Have a blessed week, and stay warm!
Tami :)