Showing posts with label Erin Condren. Show all posts

Friday, September 11, 2015

Sticky Note Lesson Plans & Erin Condren

Lesson planning with post-it notes in the Erin Condren Teacher Planner

Hey friends!

I am so excited about this post because that picture above just makes my {teacher} heart SO HAPPY! I absolutely love lesson planning and looking at my lesson planner because, well.. just LOOK AT THAT! Those colors, those fonts, and that organization. It's too much! GAHH!

SOOOO... anyhow.. enough of my gushing... I guess I should start telling you WHY it's there!

If you've been on my Facebook page, Instagram, or Pinterest at all, it might look a tad familiar.

There's a post & YouTube video floating around that I've already done telling all about how I create my Erin Condren Teacher Planner with sticky notes.

However, I have been able to take this gorgeous masterpiece of a plan book... and improve upon it EVEN MORE! say whaaat!? I know! I didn't think this was at all possible either.. but it is!

So... if you first need to read the original post about how I did that... do that RIGHT HERE. RIGHT NOW.

Then come on back and read what's NEW AND IMPROVED!


So...let's play a game and see if you can SPOT THE DIFFERENCE:
Lesson planning with post-it notes in the Erin Condren Teacher Planner

Did you find it?

Here's what's new.... MY SUBJECT LABELS! noooww take a look!:
Lesson planning with post-it notes in the Erin Condren Teacher Planner

It may seem silly... but can I just say how WONDERFUL it is to not have to hand write almost anything in my planner these days!?!

Thanks to the genius of my friend Lisa over at Fourth and Ten and her beautiful Instagram post, I no longer have to write in my subject headers and times! Using Avery Return Address Labels [and all of the patience I can muster!] I created these subject and time labels for my planner! Now, I spend even LESS TIME setting up my planner week to week. I simply put in the labels, washi tape for our snack & lunch breaks, and I'm good to go.

Here's what a bunch of them printed out looks like:


I think I am even going to try doing my dates on them too so literally nothing is written in anymore. Another plus? If I mess up or decide to change something I can just cover it up with another and be none the wiser!

So, I know you might be asking "how do you make the labels in color?" Well, this is where that patience I mentioned [and don't have much of!] comes in. When you download and open the template [which you can get here for free from Avery] in Microsoft Word. I select the box in the template and go to "Format" >> "Shape Fill." Then, select the color you want the background to be. Of course, you can leave it white. But I went ahead and gave mine a rainbow pattern. Then, I overlay a text box [which I make translucent] and format my text. I copy and paste the text boxes to fill one column with the same label format. So, the first column is my red "Morning Work" label, the second is the orange "Bible" label, the third alternates "Science," "Health," & "History" in yellow since that's how I will be teaching it this year [rotating through each content over the course of the whole year] and then the last column on the page is the green "Math" label. Then, once I save the file, I close it and copy the entire file itself and paste it onto my desktop. I rename it (something I'll remember that corresponds) and change the text boxes to the times for each of those same subjects. That way the colors are already done and I just have to change the text and formatting.

I say it takes patience because Microsoft Word is finicky when it comes to layering and I spent a lot of time adjusting the text boxes so they would line up well. But, now that it's done it looks great and was well worth the frustration!

>>> If you click here, you can download one of my label files and give them a try to see what I mean. You'll need the font CartonSix so it looks right and go from there so some of the formatting is done for you! Remember..it's in WORD. I'm sorry!

PRINTING TIP >>> once you create those labels, you will need to save them as a PDF in order to print. The first time I went to print I didn't do that.. and they didn't bring with the color fill. So I have some pages of just plain white labels. Anybody want them!?

I bought the Avery Return Address Labels on Amazon... you can get a box of 2000 here and have them for at least 2 years, if not more.. it just depends how many you use a week. Right now, I use 19 a week, but if I print the dates like I think I will that will be 24 a week x at least 34 weeks of planning for 816 labels a year. 2000 divided by 816 is 2.45 years... not bad for about $7!

For your enjoyment, here's another look at the goodness of all the supplies I use when I am putting it all together...

Lesson planning with post-it notes in the Erin Condren Teacher Planner
You can see in the top right that I used labels to insert when I do our daily Read Aloud under other plans because I didn't have room elsewhere. It works great! I love that the post-it allows for TWICE the planning room. You can lift them up and jot notes, ideas, and changes underneath for future reference [and hide them with the post-it!]


Happy Planning!


Saturday, April 18, 2015

Check this out!

Hey friends!

I am so excited to tell you that the Erin Condren Teacher Planner that I love and have showed you on my YouTube tutorial is on sale for teachers for 25% off for all of May!! It's the perfect time to save some money and get a jump start for next school year!

BUT, you can also CLICK HERE and save $10 off your first purchase of one!! It's such a great deal for an amazing planner!

THEN... you can transform and streamline your lessons with sticky notes with my FREE template from TpT here.

Your lessons plans can look just like this, and shopping now can save you some moolah!


It is too good of a deal not to share it with you! I am heading over to snag some deals now! 
Happy shopping!


Saturday, February 28, 2015

MATH groups: [T] Teacher Time

Okay, so I've talked to you about [M] - Math facts and [A] - At your seat time. Now for the third station.. [T] Teacher time.

This is the station that can take a good amount of time to prep (who am I kidding, they ALL take time to prep!) but is also where the bulk of student learning is going to occur because here is where you can teach the strategies they need for solving multiplication facts. This is also where you can differentiate and modify your how you group your students according to what you are teaching.

Here's a quick look at my lesson plan book and some of what I taught during this time:


As you can see above, I have used this time to each the following concepts:

Vocabulary terms: product, factor, multiply, equal groups, multiples
Strategies: equal groups, arrays, breaking apart a factor, fact families, skip counting
Word problems
Multiplying 3 numbers
Order of operations

I use my dry erase easel, manipulatives, and interactive notebook activities from Blair Turner to teach most of the lessons in a hands-on approach. It keeps my students engaged and gives us just enough time together to work through a new concept but not too much time where they become bored and lose interest.


This week, I used Friday as our RTI and enrichment time. Yesterday, I worked with my higher students on using input and output tables. They were the first group I worked with. Then, I called other groups back and asked them if there was anything they were struggling with, not fully understanding, or just wanted extra practice with. I think asking them was important because I made them really think through their comprehension, and assess & reflect on their work so far. Their responses were fantastic! A few students said they felt good so I allowed them to take some extra time to study flashcards or play a game to practice skills. But, I had two groups that had students wanting to work on their x4 facts and some who wanted help understanding the 9s finger trick again. I was happy to spend that time helping them overcome their struggles. I may not have worked on those skills specifically during RTI time and it would not have been very meaningful or helpful to them.

Here's a look at that RTI time.. it was the first time I had ever tried writing on our kidney table with a dry erase marker.... their minds were BLOWN! It was so much fun to see their engagement through the rest of the lesson all because we wrote on the table!


Here we worked more on the 9s trick using our fingers. I drew it out on the table to make it more visual and concrete for them before we worked through it in a more abstract way.


One entire group felt good about their skills and comprehension within all the studied concepts thus far, and I agreed, so I started working on my summative assessment for the unit which I administer interview style. That is what you see below. If you click the picture you can find them in TpT store.


I'll be back tomorrow with the rest of my MATH station set up with the [H] station!


Friday, February 27, 2015

MATH groups: [A] At your seat


So.. you saw how I started to introduce my MATH groups (hopefully it made sense!) as well as what students are expected to in during [M]ath fact time in my last post...

Now, here is what is involved during [A]... which is At your seat.

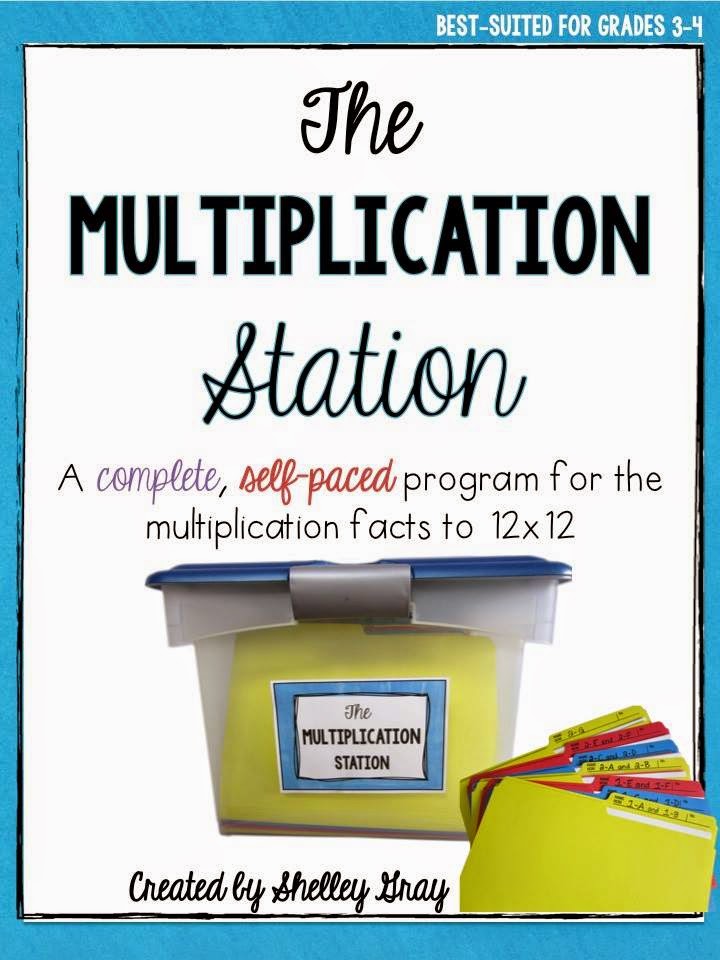
There are a lot of options you could do with this as well. This is intended to be the time that students compete independent practice of a particular skill. Again, my focus is multiplication, so I am using The Multiplication Station from Shelley Gray. It is am amazing self-paced program designed to help students not just memorize their multiplication facts, but help them master multiplication as a whole with meaningful practice of several skills.  I started to introduce it by introducing the pages for the Zeros and Ones as a whole group. We did one or two a day together until we had worked through them all.
One of the fantastic things about her station is that there are so many different activities to practice all of the facts. They include directions and several examples so that students can do everything on their own, but I still wanted to introduce this to my students since it was a brand new activity and the zeroes & ones facts are perfect because of the simplicity. We were able to focus on how to read the page and complete the activity rather than focus on solving the answers. I wanted them to feel confident in their abilities to figure out how to complete each page. Solving for the correct products would come with strategies I would be teaching. Does that make sense to you? It does to me... but what does that really mean? haha

Once we began full rotations, my students keep track and pace themselves through the entire program. It follows a particular order for teaching the facts, so that is the order I followed when they made their flashcards so there would be consistency in all areas. She includes ALL of the information you and your students need to understand how the program works... and it really does. It amazes me every day how well all of my students work through this completely on their own (mostly!) I usually still have students come to me to ask a question, but it's usually to make sure they are completing a page correctly or ask a quick question. But overall, they manage it so smoothly. They have become so responsible using this, and additionally, I think it helps them as problem solvers. Because I am teaching during this time (which is the next station I will post about) they have to figure out problems they encounter on their own. I think that is a fantastic life skill you have to learn!

Here's some photos of my students working hard during this time, as well as a look at what they use to track their progress.


This is how I have all of the files stored. I put multiples activity sheets into one folder to save on the number of folders I would need. I also copied many of them front & back so that it would save paper. 


I also laminated the answer keys front to back and put them in the same folders as the activities to make them easy to find, and to save on laminating sheets.


 Next to our Multiplication Station I have a magazine-style holder. This is where all of my students keep their personal trackers. They are in page protectors which have their student number on them. I wanted them to stay nice and neat, and prevent them from getting lost in the shuffle of their desks.


This is a progress tracker. She likes rainbows....and organization :)


This student finished activity 2C, so she is checking her work on the answer key. If she finishes both the front and back, and checks them with the key, she will then put it in the same bin where she keeps her tracker. I look through it daily just to check over their progress and monitor how they are doing. I like to do that for my own "formative assessment." Basically, keep an eye on their independent learning! After a quick look over them, I send them home.


This student is working on 2F and will then work on 2G. After she finishes all of 2G, she is ready for her 2s test, as long as she feels comfortable and ready and KNOWS THEM FLUENTLY! They tell me when they are ready and I write down the date they are ready with the fact set I need to test them on. I test several kids a day on several different fact sets. 


Here's how I keep that organized (it's a part of the freebie you found in the last post and if you click the picture here you can get it, too!)


If they pass, I just put a check mark next to their name. If they miss any facts, I write how many they missed and circle it. I retest them usually the next day. 

I keep track of their progress through the fact tests in the checklist section of my Erin Condren Teacher Planner like this:


The tests they take are very basic. I use the format that I got in 


I keep "answer keys" I made for each set on my clipboard (which is becoming a HOT mess between my tracking sheets for MATH stations and the Daily 5!) Here's a look at that:


I am so very happy with this purchase! It is quite a bit of prep to get The Multiplication Station set up and ready to use, between copying, finding a filing & storage system, and prepping the answer keys, but I promise you it is well worth it. It is by far one of the best investments I have made for curriculum supplementation!

What do you think of MATH group implementation so far??
I hope you find it do-able! There are SO many options you can do for each station when you really start exploring it. [A]t your seat time could include any printables that allow students to independently practice the skill on which you are currently working. You could use your school-provided curriculum worksheets or textbook problems at this time also. 

What are your ideas? I'd love to read your thoughts for inspiration for my future use of this!

Saturday, January 24, 2015

Erin Condren Teacher Planner: lesson planning with post-it notes!

Hey there everyone!

So several months ago I shared with you a blog tutorial on how to print onto post-it notes to transform your lesson plans in an Erin Condren Teacher Planner. Well, I know that giving (and taking) directions, is easiest to SEE what is happening, so I thought I would create a VIDEO to show you! A tad crazy (at least for me) because taping myself and talking to a webcam is a bit unnerving, but it was so much fun! Check out the video by clicking on the picture below!
 and PLEASE let me know your thoughts!


Then, you can grab the template I use from my TpT store (just click on the cover photo below)... I went ahead and it turned it into a permanent {FREEBIE!}


I hope you give it a shot if you have (and love!) an EC Teacher Planner and let me know how it works for you! I hope you absolutely LOVE it as much as I do! I find that it actually makes planning a *little* less daunting, sooo...HAPPY PLANNING! :)